
3 Ways to Tell if Your Silver is Real or Plated
You pick up a shiny bracelet from your jewelry box. It looks like silver. It feels like silver. But in the back of your mind, you wonder if it is actually silver or just plated metal.
If you have ever had that thought, you are not alone. A lot of people search for how to test silver right before they sell, pawn, or pass pieces down to family. Learning how to test silver at home can save you from getting low offers, overpaying for junk, or accidentally giving away something valuable.
This skill is valuable for anyone handling coins, flatware, or jewelry. You do not want to be the person who sells a rare sterling piece for the price of scrap metal. Conversely, you want to avoid paying a premium for an item that is mostly copper.
The good news is you do not need a lab, fancy gear, or a chemistry degree. You just need a clear process, a few simple tools, and a little bit of patience. By following a few logical steps, you can gain confidence in what you own.
Why Testing Your Silver Really Matters

Real silver is more than just a pretty color. It has melt value, collectible value, and sometimes serious sentimental value. Sterling silver and higher purity pieces can sell or pawn for much more than plated items that only have a thin layer of silver on top.
When you know what you possess, you protect yourself financially. The market price for silver fluctuates, but it always maintains a base level of worth. A solid silver tea set, for instance, could be worth hundreds or thousands of dollars based on its weight alone.
If you plan to sell or pawn your jewelry, flatware, or coins, knowing which pieces are solid silver can help you separate the good stuff from costume items. That way you walk in more confident, with a clear idea of which items actually matter. Dealers often respect a seller who knows their merchandise.
Testing is also helpful if you like to buy from thrift stores, flea markets, or online sellers. A little knowledge keeps you from paying sterling prices for silver plate. Spotting a real piece in a pile of junk jewelry feels like winning a lottery.
Furthermore, using genuine materials prevents allergic reactions. Many people have sensitivities to nickel or brass used in base metals. verifying the purity of your jewelry protects your skin from irritation.
Basic Terms To Know Before You Test
Before we get into how to test silver step by step, it helps to know a few key terms you will see and hear all the time. Understanding the language of precious metals helps you decipher markings quickly. It also prevents confusion when you speak with buyers or appraisers.
| Term | What it means in plain language |
|---|---|
| Sterling silver | 92.5 percent silver mixed with 7.5 percent other metals, usually copper |
| Fine silver | 99.9 percent pure silver, softer and used less often in jewelry |
| Silver plate | Very thin silver coating over a base metal like brass or nickel |
| Hallmark or stamp | Small marking that tells you metal type, purity, or maker |
| 925 | Number that means 92.5 percent silver, usually sterling |
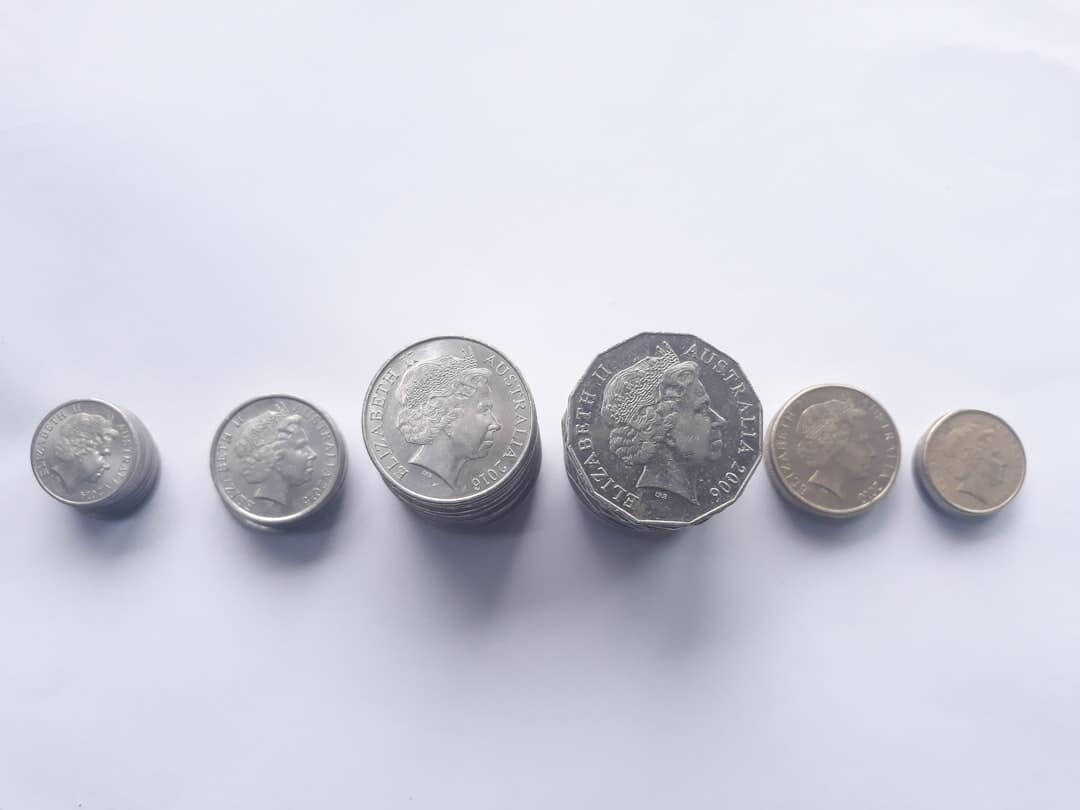
| Coin Silver | Usually 90 percent silver, commonly found in US coins pre-1964 |
These terms show up again and again, so once you get used to them, reading your jewelry gets much easier. You will start to recognize the difference between "Sterling" and terms like "German Silver" or "Nickel Silver," which actually contain no silver at all. Knowledge of alloys is your first line of defense.
Sterling is the standard for jewelry because pure silver is too soft for daily wear. The added copper gives rings and forks the strength to hold their shape. This is why standard testing looks for that specific 92.5 percent threshold.
Visual Checks:

Your eyes will catch a lot of fakes before you even touch a magnet or test kit. Take your time with this step, because it costs nothing and can tell you a lot. Examining the physical appearance is always the best starting point.
Look for hallmarks and stamps
Most genuine silver jewelry and flatware carries a small stamp. On many pieces you will find marks like 925, 900, or 800 which signal how much silver is in the alloy. Sterling silver usually shows 925 because it is 92.5 percent silver by weight.
You might also see the word Sterling, or older marks on vintage English pieces that include a lion icon. This "Lion Passant" is a historic guarantee of quality from British assay offices. Other countries have their own specific marks, such as the eagle for Mexican silver.
If your piece has any of these, it is worth taking to a professional to confirm the purity and value. Sometimes marks are fake, but a proper stamp is a strong positive indicator. Makers usually take pride in marking valuable goods.
Use a magnifying glass or your phone camera zoom and check less visible spots. Common places are the inside of rings, the clasp of necklaces, the back of pendants, and the handle of flatware. Small earrings may have the stamp on the post itself.
Watch for clues that it is only plated
Plated silver wants to give itself away if you look close enough. Areas that rub against skin or clothing often lose their coating over time. You may see yellow or reddish tones peeking through in spots like edges, corners, and the back side of chains.
This underlying color is usually brass or copper showing through the worn plate. Once the thin silver layer rubs off, the base metal is exposed to the air. This contrast is the easiest way to spot a fake without any tools.
If the color looks patchy, or if there is obvious flaking, that usually means a base metal sits under a silver layer. Real sterling wears down in a more even way and does not peel. Solid metal cannot flake off because it is the same material all the way through.
You can also watch for marks such as EP, EPNS, or words like plated or electroplated. Those are strong hints that your item is not solid silver, even if it still looks pretty. EPNS stands for "Electro Plated Nickel Silver," which is a very common costume material.
Check overall color and shine
Real silver has a soft gray tone with a warm glow that looks different from chrome or cheap metals. Plated items sometimes look a bit too bright or glassy at first glance. Stainless steel, for example, has a cold, blue-gray tint compared to silver's warm white.
If the color is very shiny and almost mirror like, that alone does not prove anything. But combined with other signs like peeling or the wrong markings, it pushes things more toward plate instead of sterling. Trust your eyes if the metal looks artificial.
Also pay attention to tarnish. Real silver loves to darken and turn blackish where it touches air and moisture. A perfect surface on a supposedly old piece should make you a little suspicious.
However, silver plate can tarnish too, so tarnish alone is not proof. The difference is that when you polish real silver, it returns to a brilliant white-gray. Polishing plate might rub the coating off entirely.
Magnet And Physical Tests: Quick Home Checks

After you finish your visual checks, you can move into very simple at home tests. These do not tell you exact purity, but they help sort the real candidates from the obvious fakes. Physics provides some of the most reliable answers.
Magnet test for fast sorting
Silver is not very magnetic. So if a strong magnet grabs your piece firmly, that is usually bad news. It means a magnetic base metal is probably sitting under a coating, or the piece is some other alloy entirely.
Use a small rare earth magnet if you have one, because weak fridge magnets are not enough. Slowly bring the magnet near your jewelry or flatware and watch what happens. If the item jumps to the magnet or sticks hard, set it in the plated or base metal pile.
This works because steel and iron are highly magnetic and often used as the core for fake bullion or jewelry. Silver is diamagnetic, meaning it actually repels magnetic fields very slightly. You likely won't feel the repulsion, but you certainly won't feel an attraction.
Keep in mind that this is just one test. Some metals that are not silver are also not magnetic, such as copper, brass, or lead. If the magnet does not react, you still need more steps before you call the item real.
The slide test for coins and bars
If you are testing a silver coin or bar, you can try the "slide test." Place your silver piece on a flat surface angled at about 45 degrees. Drop the magnet down the face of the silver.
Because silver is diamagnetic, the moving magnet creates electrical currents that slow it down. The magnet should slide down the silver slowly, almost as if it is moving through syrup. On a non-silver metal, the magnet will simply plummet down quickly.
Weight, feel, and sound
Real silver feels dense compared with cheap alloys. If you hold two similar items, the solid silver piece will often feel heavier in your hand. This is easier if you own a few items that you already know are sterling.
You can also tap two pieces gently together and listen. Solid silver gives off a higher, more musical ring, while base metals can sound dull and short. This is known as the "ping test" among collectors.
This is not a lab grade test, but once you get used to it, your ears notice the difference. A coin made of silver will sustain a ring for a few seconds. A coin made of copper-nickel clad will make a dull "clack" sound.
Surface feel matters too. Genuine silver is smooth to the touch with no gritty bumps unless that is part of the design. Rough patches or raised flakes are red flags that something is just plated.
Smell, Skin, And Ice: How To Test Silver With Your Senses
Many people are surprised by how much they can learn by using their senses on a piece of jewelry or flatware. It sounds simple, but your nose, skin, and even ice cubes can tell you a story. Science is on your side here.
The smell test
Real silver should have little to no smell. If you notice a strong metallic or sulfur scent when you bring the piece close to your nose, that is usually not a good sign. It indicates the presence of cheaper alloys.
Base metals that contain nickel or other cheaper ingredients tend to smell sharper or harsher. That scent is one more clue that the piece might only be coated or is not silver at all. Copper specifically has a very distinct penny-like smell.
This test will not catch every fake, but it is fast and free. So it is worth doing before you move on to more involved checks. A high-quality sterling item simply smells neutral.
The rub test on skin or cloth
If you rub a silver item gently between your fingers for a few seconds, pay attention to your skin. Pure silver itself does not leave heavy marks, but some alloys can react slightly with oils and acids on your body. Sterling may leave a faint dark mark due to oxidation.
A better way is to rub part of the piece on a soft light colored cloth. If you see gray or black marks on the cloth, that can be a sign that the metal contains silver reacting with air and friction. Real silver oxide is black, whereas dirt is usually brown.
If your skin turns bright green or itchy, you are most likely dealing with a copper or nickel heavy alloy, not solid sterling. Many costume pieces do this, which helps you move them out of the higher value pile. The green stain is a classic reaction to copper oxidation.
The ice cube test for heat conduction
Silver moves heat very fast. That means an ice cube sitting on real silver should start melting more quickly than on a wood or plastic surface. Silver actually has the highest thermal conductivity of any common metal.
Place a dry piece of silver flat on a table and set one ice cube directly on the metal. Place a second ice cube next to it on a plate that does not conduct heat well. Watch which one melts faster.
You should see the ice on the silver turning into a puddle almost immediately. It will look like you placed the ice on a hot griddle, even if the silver was at room temperature. This happens because the silver transfers the room's ambient heat into the ice block rapidly.
If the cube on your metal piece turns into water sooner, that supports the idea that the item may be real silver. It does not tell you the exact grade, but it can support what you saw in the stamp and magnet tests.
How To Test Silver With Simple Chemical Kits
If you want to go a step beyond basic checks, chemical test kits for silver are fairly cheap and easy to use at home. These use small drops of acid to see how the metal reacts. The acid is usually a mixture containing nitric acid.
How home test kits usually work
A typical silver test kit comes with a small bottle of testing acid, a testing stone, and sometimes instructions that include a color chart. You scratch a tiny line of metal on the stone and add a drop of acid to the scratch mark. The stone allows you to test without pouring acid directly on the jewelry.
The color change shows whether silver is present and at what rough purity. Strong silver lines often stay bright or change in a certain way, while base metals react differently and may bubble, darken, or vanish on the stone. You need to compare the reaction color to the chart provided.
For example, fine silver often turns a creamy red or bright red color. Sterling silver might turn dark red or brown. If the acid turns green, you are almost certainly looking at a base metal like copper or brass.
Always read your kit directions very carefully and wear basic protection like gloves or glasses, because you are dealing with acid. Use tiny scratches on hidden parts or use the stone method so you do not harm visible surfaces. Acid can leave permanent scars on jewelry.
Pros and limits of home acid testing
Chemical tests can give more clarity than just a magnet and your nose. They can often separate plated items from solid sterling in minutes. It cuts through the confusion of thick plating that might fool other tests.
But home kits still have limits. Color changes can be hard to read if you are new to it, and there is always some risk of damaging soft metal if you test directly on a piece. The acid is corrosive and dangerous if spilled.
If a piece looks old, rare, or expensive, or if it has stones set into it, you may want a professional test before you try acid at home. You do not want to accidentally ruin the value of an antique just to prove it is real.
Common Markings And What They Mean
By this point you see how important those tiny letters and numbers on your silver can be. Reading them right helps you sort quickly before you head into more advanced testing. Different countries have different standards, so variety is common.
| Marking | What it usually tells you |
|---|---|
| 925 or Sterling | Often sterling silver at 92.5 percent purity |
| 900 or 800 | Coin or continental silver with slightly lower purity |
| 950 or 958 | Britannia silver, which is softer and purer than sterling |
| EP, EPNS | Electroplated silver on a base metal, usually plate |
| Silver plated | Spells it out that the item is plated, not solid |
| Hallmark symbols | Icons that can show maker, country, and purity, often seen on older pieces |
If you see what looks like a fancy logo instead of a clear number, that may be a maker mark or a traditional hallmark. You can search for those specific icons online by shape and country to learn more about where the item came from. British silver, for example, is heavily regulated and uses symbols for the year and city.
Mexican silver often carries an "Eagle" mark or a stamp that says "Taxco" or "Mexico." Scandinavian silver might feature a three-crown mark. Knowing these geographic indicators helps you identify items that might not have a standard "925" stamp.
Building A Simple Home Silver Testing Routine
You do not have to use every test on every piece. Over time, you can build a simple order that works for you so you do not waste time or risk damage. Efficiency is the goal when sorting through a large jewelry box.
Step by step process you can follow
- Do a close visual check for stamps, peeling, and color changes.
- Use a magnet to pull out clear base metal pieces.
- Check weight, feel, and sound against items you know are real.
- Use smell, cloth rub, and the ice cube test on items that still seem promising.
- If you need more clarity, use a chemical test kit carefully or go see a pro.
Pieces that pass most or all of these steps move into your serious pile, the ones you protect, appraise, or bring with you to sell. Items that fail the magnet test can be discarded or sold as scrap metal immediately. This filtering process saves you effort on the back end.
Be consistent with your method. If you buy coins online, test every single shipment the same way. Scammers often rely on buyers being too lazy to check their purchase upon arrival.
When To Stop Testing And Talk To A Professional
There is a point where home testing needs to hand off to expert help, especially if you suspect you have something special. Maybe the piece feels old, or carries an unusual hallmark, or includes gems that you are not sure about. Professionals have tools that home users generally lack.
Jewelers and bullion dealers often use a machine called an XRF (X-ray Fluorescence) analyzer. This device scans the metal with x-rays and tells the exact chemical composition without scratching or damaging the item. It is the gold standard for non-destructive testing.
Any time you worry about damaging a piece with acid or scratching, it is safer to get an appraisal from a trained buyer or jeweler. That is also the right move if you plan to sell for cash and want a real offer based on weight and purity. They can weigh the item on certified trade scales.
You will walk into that appointment more confident because you have already done the basics. You know what the marks say, what the magnet did, and how the piece looks and feels. That sets you up for a better, clearer conversation about price.
Conclusion
You do not have to guess or hope that your bracelet, spoon, or coin is real silver. By learning how to test silver at home with simple checks, you give yourself a clear way to sort your collection and protect its value. Knowledge is the best tool in your kit.
Start with your eyes and a magnet, then move through smell, feel, and easy heat tests. Use chemical kits only when needed, and do not be afraid to stop and ask for expert help on pieces that seem important. A methodical approach yields the best results.
As you practice how to test silver on different items, you will be surprised how quickly your instincts grow. Before long you will be the friend everyone turns to when they find an old piece and quietly wonder if it is actually real. Being able to spot the real treasure among the junk is a skill that pays off for a lifetime.